
Selecting a Kitchen Chef Knife
A recent “worldwide” survey proclaimed that the best-tasting hamburger is boiled, served on a raisin bun, topped with ghost peppers, yellow mustard, pickled liver and sardines. Disclaimer: The survey had one participant. His name was George.
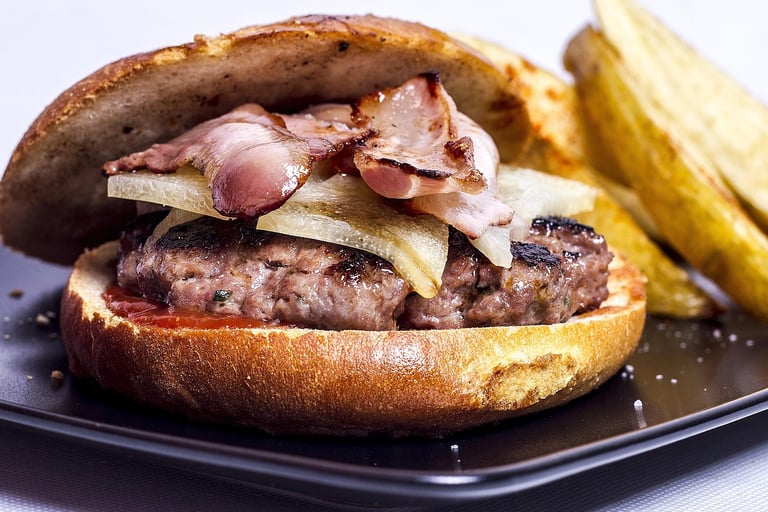
Personally, I’ll take a fire-grilled bacon cheeseburger any day.
The point? Ask ten people what makes the perfect burger, and you’ll get eleven or twelve different opinions. The same goes for choosing a kitchen knife. A lot depends on personal preference (ask any professional chef that) and some depends on need of use.
So are a few things to consider in finding the perfect knife for your needs?
Washing & Care:
Does your knife need to be dishwasher safe, or are you willing to hand wash it?
If dishwasher-safe is a must, consider synthetic handle materials like G-10 or Micarta—they hold up well to heat and moisture. Wooden handles, on the other hand, can lose their finish over time.
That’s why I recommend hand washing and drying all knives. It helps preserve their finish and keeps them looking and performing their best.
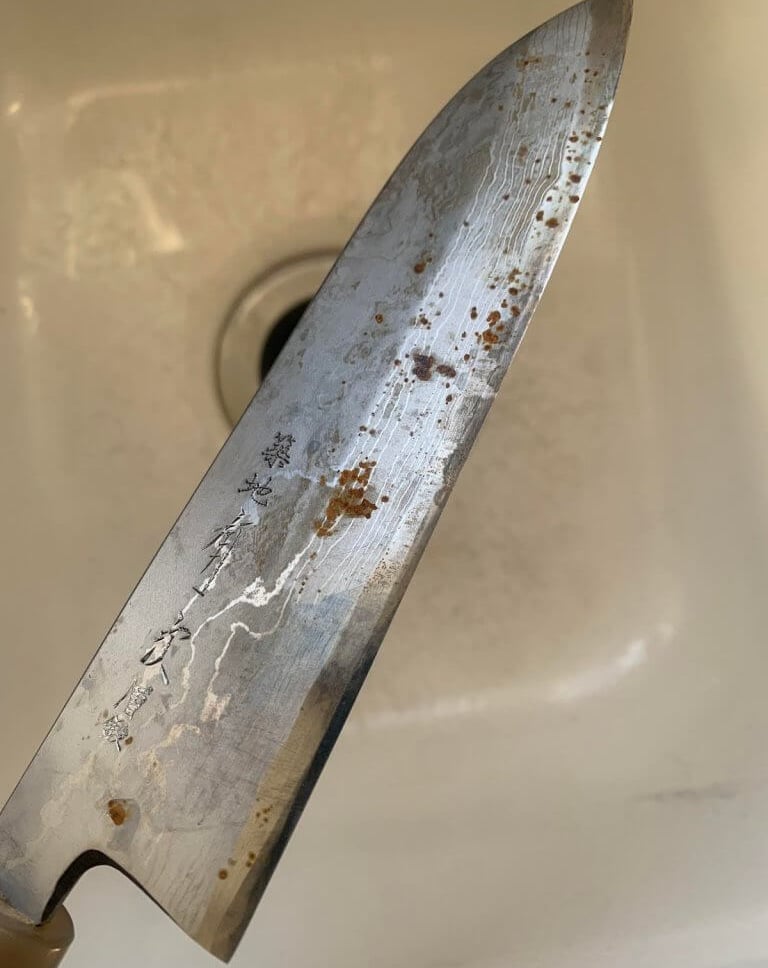
As for the blade, I only use stainless steel for kitchen knives. It resists rust and staining much better than high-carbon steel or Damascus. (Unless, of course, you're eyeing an extremely expensive stainless Damascus kitchen knife—that’s a whole other conversation.)
Weight:
Do you want to chop vegetables with speed and precision? Then you’ll want a thin, featherweight knife. I make blades like these specifically for fast choppers and anyone who prefers a lighter touch in the kitchen.
Prefer to feel the heft of the blade and always know its position in your hand? One of my standard heavy kitchen knives will suit you best.
Most people start out liking the lightweight store-bought blades they’re used to—until they spend a few weeks with a heavier knife. That’s when they often say it feels sturdier, more balanced, and higher in quality. They grow to love the way it handles.
Still, if speed is your top priority, a lighter blade is the way to go or if you have not already, try a curved rocker style blade. (see "cutting style" below)
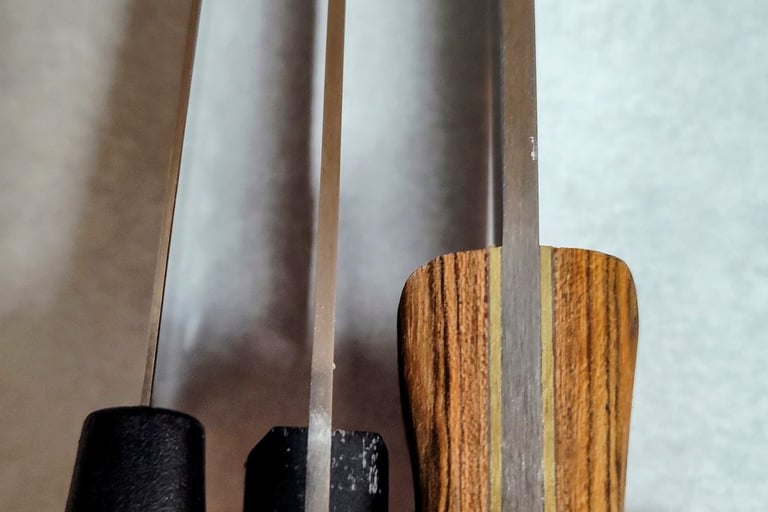
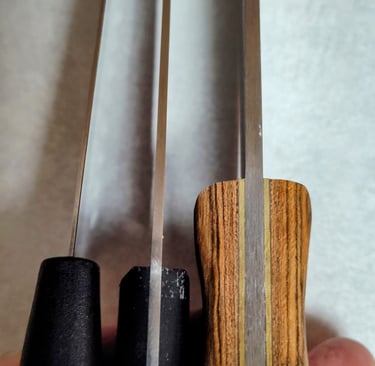
Super thin store bought knife on left (1/16 inches thick), my thin blade in the middle (1/8) and thick blade on the right (5/32).
Slicing Large Items:
Planning to cut a lot of watermelons or other large fruits? Then a thin blade is your best friend.
Even if two knives share the same sharp edge and profile, blade thickness makes a noticeable difference. A thin blade glides through the first inch and continues slicing with ease. A thicker blade, while it penetrates the surface just as readily, quickly meets resistance—the side walls create drag that slows the cut and demands more force.
For clean, effortless slicing of oversized items, blade geometry matters as much as sharpness.
Handle Grip
Some people love the thin straight knife handles. I have only made a few because most people like the feel and handling of a thicker ergonomic knife handle. It typically is less fatiguing on the hand. I also love a front bolster to protect your finger from slipping forward onto the back of the flat knife blade.
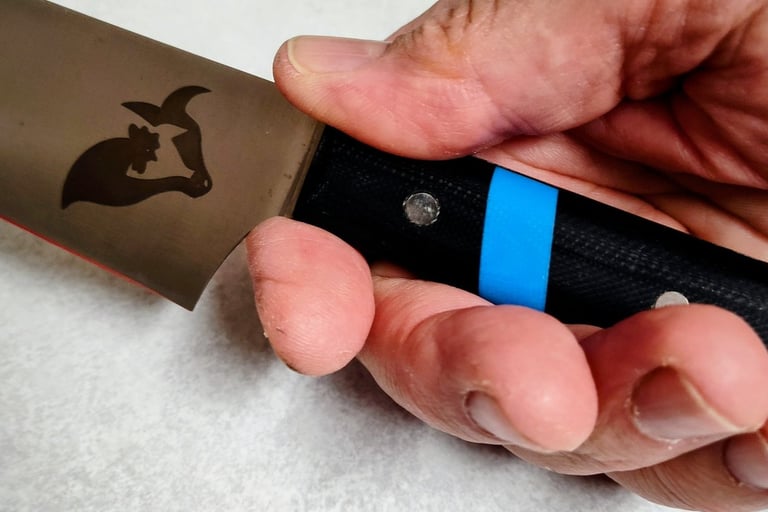
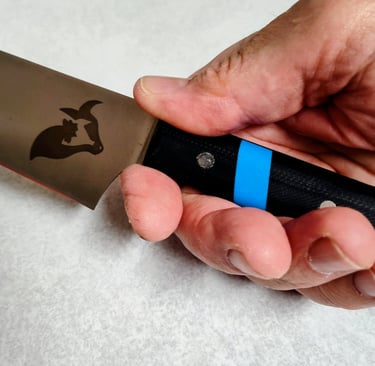
Notice how the index finger rubs against the back of the knife blade in the photo above and the thumb presses against the knife spine.
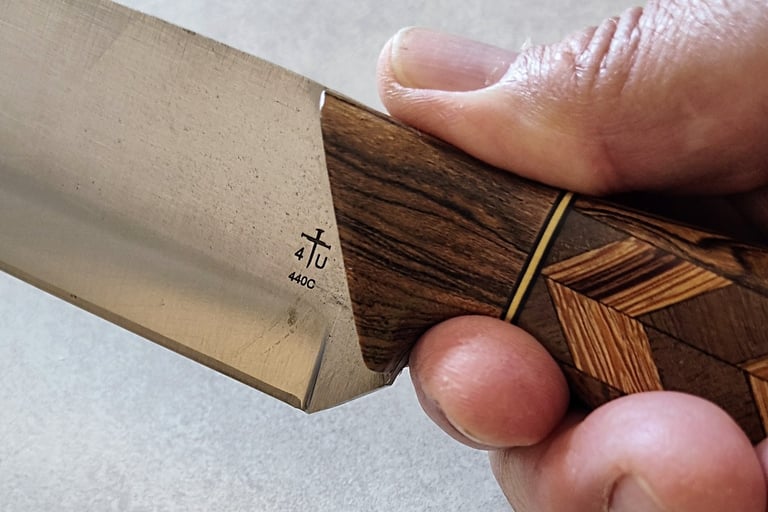
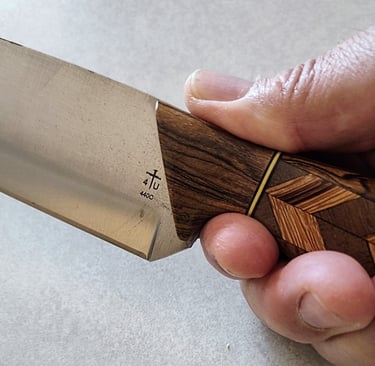
In the other photo, notice how the index finger and thumb are protected from the blade edge.
Cutting Style:
As one professional chef put it, the knife style you learn to cook with often becomes your favorite. That said, choosing the right blade for the task at hand can make all the difference.
Curved Blades
Ideal for a rocking motion—perfect for chopping herbs, mincing garlic, and dicing vegetables. The curve also allows your hand to sit higher above the cutting board, offering better clearance and comfort. Also, the rounded shape allowed each area of the blade to come in full contact with the cutting board as opposed to a straight blade. If you don't make full "flat" contact along the entire bottom of a straight knife, you wil end up with incomplete cuts. A curved blade eliminated this.
Straight Blades
Best for precision cuts that require straight lines, like julienning vegetables or slicing meats. They’re also easier to sharpen thanks to their consistent edge geometry.
Mixed Geometry
I craft knives that blend both curved and straight profiles—versatile tools that perform well across a wide range of kitchen tasks.
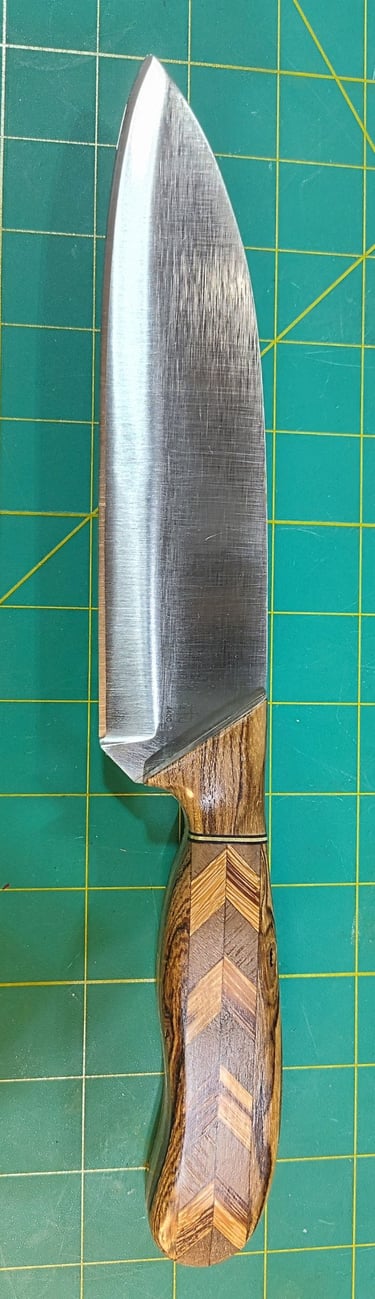
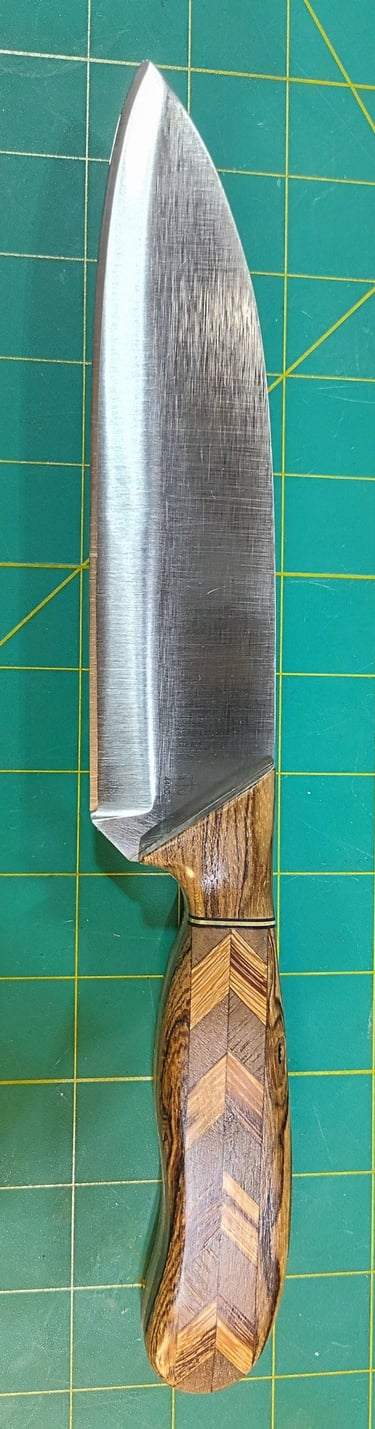
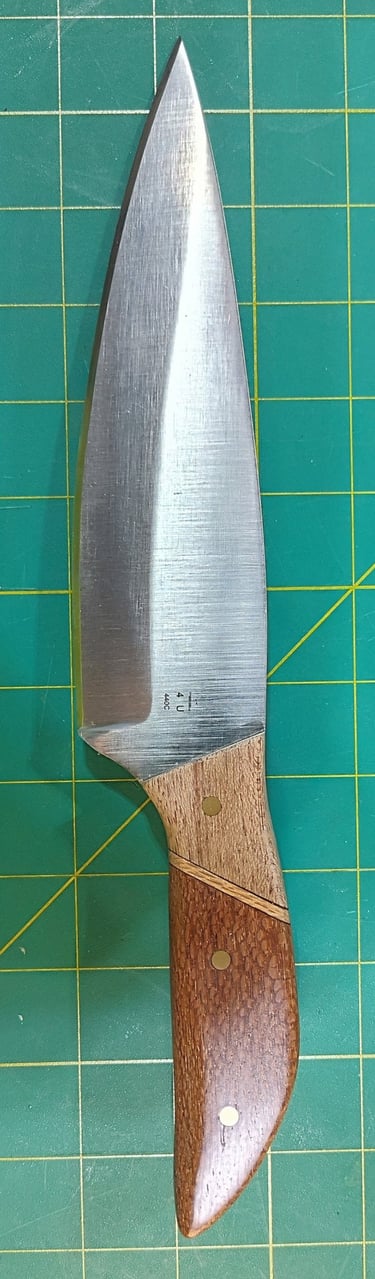

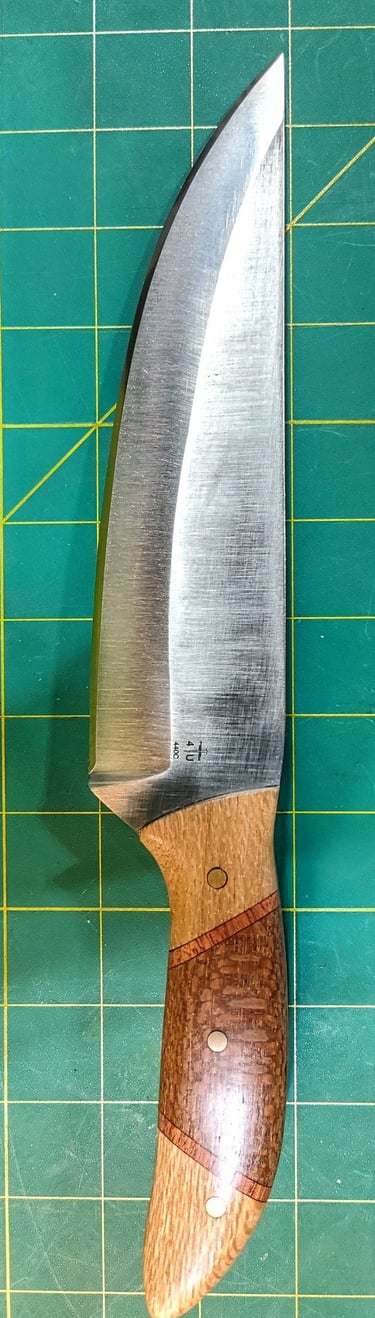
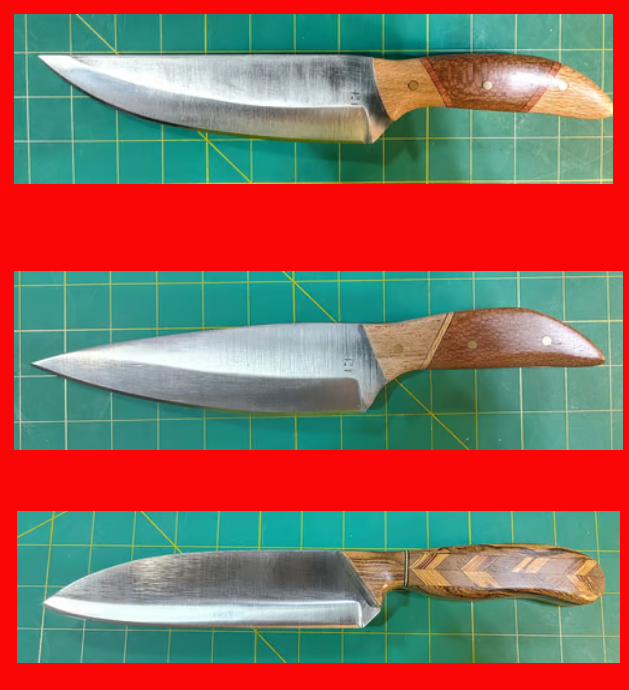
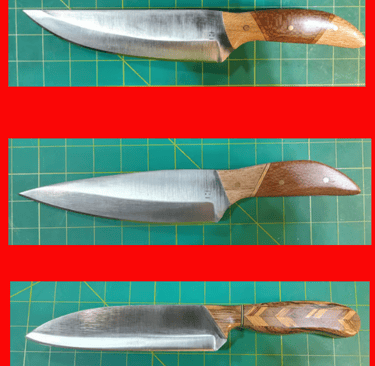
Three of my knife styles: The Alison (top) The Ichthus (middle) and the Classic (bottom)
Grind Type - How much does the food stick to the blade?
What’s the best blade grind?
The grind refers to the geometry of the blade’s sides—not just its edge, but how the blade tapers from spine to cutting surface.
The grind of a blade plays a key role in how easily food releases as you slice. A well-designed grind allows the blade to glide through larger items with minimal effort — and helps prevent food from sticking.
Flat surfaces tend to hold onto flat-cut food more stubbornly, while a curved or convex grind encourages clean separation and smoother cutting.
While features like hollow grinds or Granton dimples (often found on Santoku knives) are marketed to reduce food sticking, I’ve found they don’t make a dramatic difference in real-world use.
That said, I do make knives with a special edge geometry that helps—especially when slicing vegetables like potatoes. I slice a lot of potatoes myself, and I got tired of the slices sticking to the blade and rolling off across the counter.
So I designed a knife with a convex grind—a gentle curve that spans about 1" to 1.5" on a thicker blade. It’s not perfect, but it noticeably reduces drag and sticking. Small vegetables still cling like they do with any knife, but the improvement is real. It’s excellent for general kitchen use, and most of my thicker knives feature this grind. Note: it works better with the thicker blades because the food it pushed further away from the upper portion of the blade.
Another variation I like is the Walkschliff grind (or Kettle grind). It is a traditional German-style convex grind where the top of the blade is thinned to increase the outward bow in the middle of the knife. It is the exact same thing as my convex grind except it slightly improves on this by tapering in towards the top leaving a larger curve for the food to fall off of.
However, if your goal is to slice through large melons or other oversized produce, a thin blade is still your best bet—it creates less drag and slices more cleanly.
(See the “Slicing Large Items” section above for more on that.)
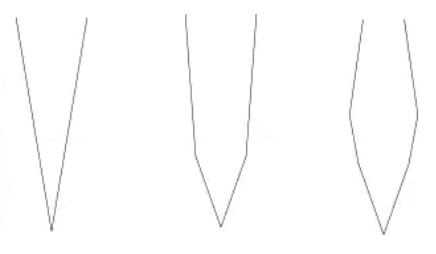
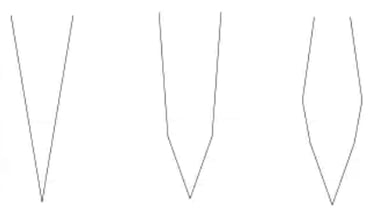
The Left is a flat grind.
The middle is a convex grind.
The right is a Walkschliff grind.
As you can see, the outward curve helps food move away from the blade instead of sticking to it.
Choosing the Right Steel: Sharpening vs. Sanity:
1. Do you “love” sharpening your knives over and over?
2. Do you enjoy that sinking feeling when you realize you left your high-carbon blade wet — and now it’s rusting?
3. Oh, and are you chopping your vegetables so hard, your cutting boards are being split in half after every use?
No? Then you’re like me.
I hate wasting time on constant sharpening a knife. And yes, I’ve nearly cried after watching a beautiful high-carbon blade rust because I didn’t dry it fast enough. I also have yet to break a single knife after the last 45+ years of cooking.
So let’s talk steel.
Why I Use Stainless Steel for Kitchen Knives
With very few exceptions, I use stainless steel for all my kitchen knives.
Why? Because high-carbon steel and most Damascus steels will rust — sometimes just from humidity in the air. Yes, there are a few premium stainless Damascus steels out there… but they come with a premium price tag. Typically just the bar alone of stainless Damascus costs as much as my most expensive knives.
I could buy high-carbon steel for a quarter of the cost of stainless steel. But I’m not here to make cheap knives — I’m here to make quality knives that won’t break your heart when you forget to dry them.
For Kitchen knives, I typically use a lot of 440C because it holds a good edge and is great on corrosion resistance.
What Some Makers Will Tell You
Many knife makers pitch their steel with two selling points:
- “It’s super tough!”
- “It’s easy to sharpen!”
Sounds great, right? But let’s pause and think.
What Does "Tough" Really Mean? Toughness refers to a blade’s ability to resist breaking, chipping, or cracking.
You DO want toughness in a machete or in my police-grade knives — that might double as pry bars in an emergency.
But in the kitchen? If you need a pry-bar-grade knife to chop onions… well, what exactly are you doing in there?
For kitchen knives, extreme toughness isn’t necessary. In fact, reducing toughness (depending on the steel formulation) can improve edge retention. Toughness can also be increased or decreased by the knife maker by tempering the blade more. But ultimately, if you do need a bit more durability, you can often compensate by slightly thickening the blade steel.
Easy to Sharpen” — But at What Cost?
Some steels are marketed as “easy to sharpen.” But here’s the trade-off:
Steels that sharpen easily usually don’t hold their edge very long.
The very properties that make a blade hard to sharpen — higher wear resistance, for example — are what allow it to stay sharp through repeated use.
And let’s be honest: if you’re using a diamond sharpening block, even the harder steels aren’t that difficult to maintain.
I suggest maintaining the knife's sharpness by simply leather stropping the blade every few hours of use. That is all I ever really use.
So there you have it. The general considerations of what to choose in a good kitchen knife for your needs.
Contact me:
contact@creationsformyking.com
© 2025. All rights reserved.